User Security & Access Control
The majority of NAS security needs to be done preventatively to easily recover from potential issues that might arise in the future.
It’s important to note that cybersecurity is always evolving and staying up to date with best practices is important. These are things I normally change, but depending on your needs, you can potentially secure your NAS even further.
Making sure that every user on NAS system is properly created, assigned, and given least amount of privilege, can help with reducing any type of cyberattack.
Disable Admin Account
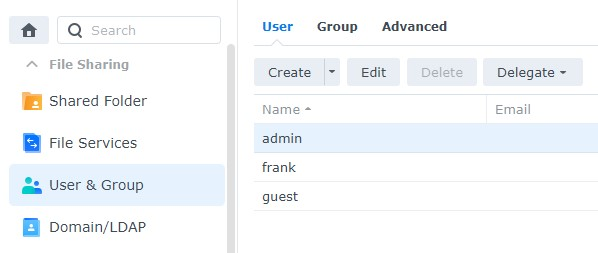
First we must create a new user and ensure that they have admin permissions before disabling the admin user. Disabling Guest account is good practice as well, but it's personal preference, if group based access is properly managed.
- Select Control Panel, then select User & Group and Edit the admin user
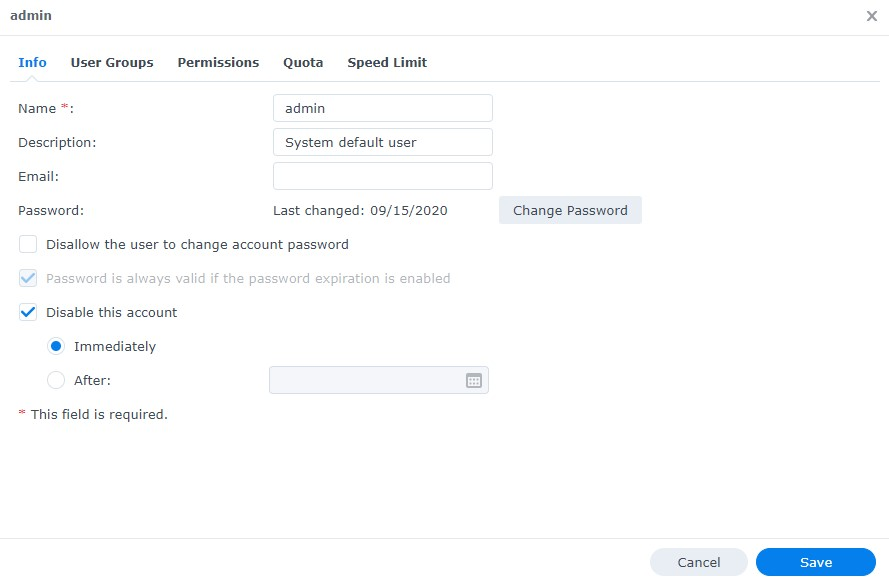
- Select Disable this account, then select Save. This will ensure that the admin account is disabled
Enable Two Factor Authentication
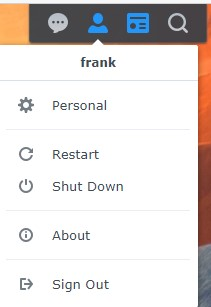
- Select the Person icon in the top right and select Personal
- Select Enable 2-step Authentication. The email service will need to be enabled for this
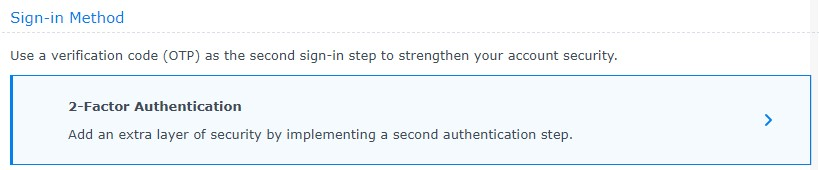
- Select 2-step Authentication, then Verification code (OTP).
- Select Next to protect your DSM account with 2-factor Authentication
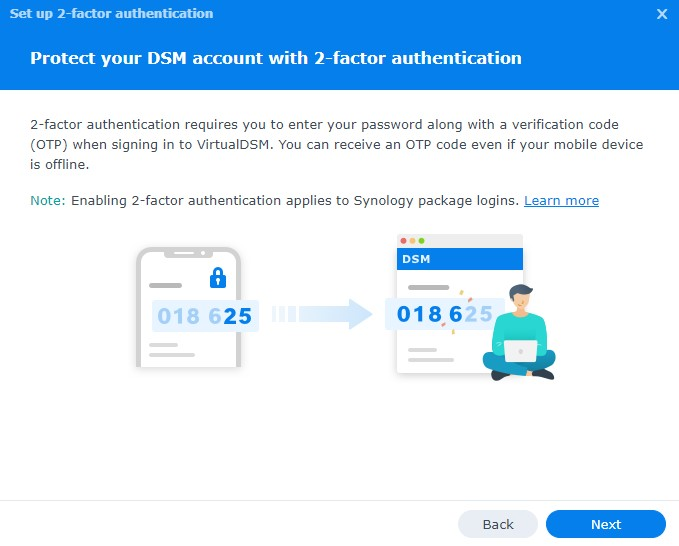
The next section will suggest that you install Synology’s Secure SignIn. This is not required. This is simply Synology’s TOTP application – you are free to use whatever TOTP application you’d like.
- Scan the QR code, enter the code, then select Next.
- Set up the Email service provider, then select Next
- Two- factor authentication is now set up
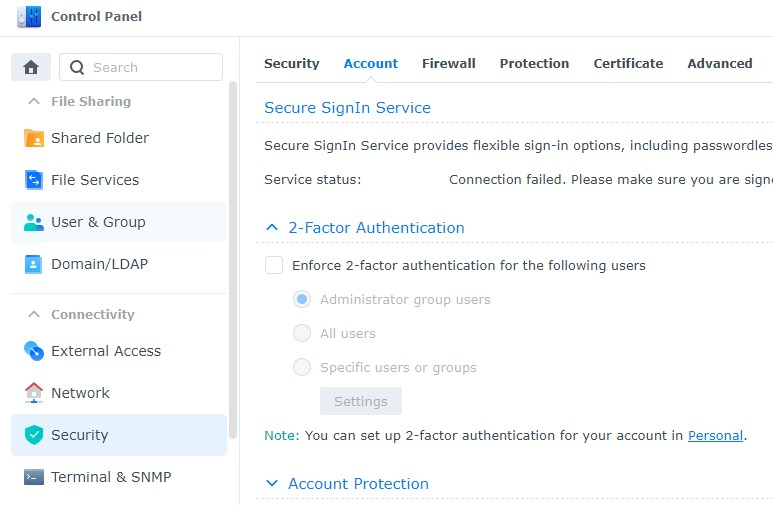
If you’d like to force all users to set up two-factor authentication
- Go to Control Panel
- Under Security select Account and under 2-Factor Authentication select All users or Specific users or groups. It's good idea to have any users that can remotely access NAS to have MFA setup, both TOTP and Push Notification with Synology Secure SignIn
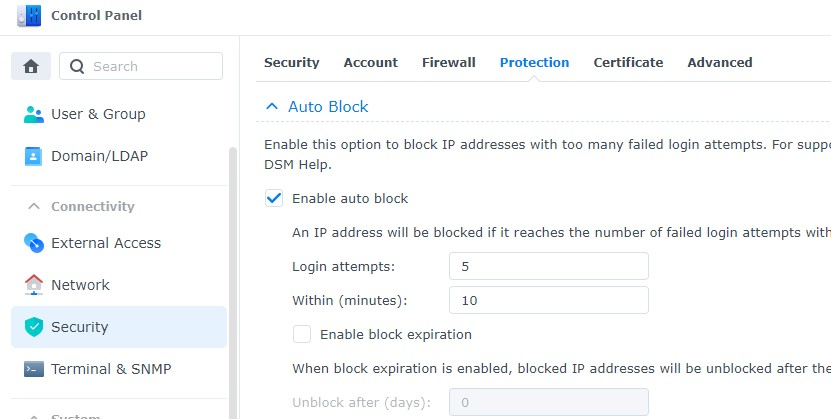
Enable Auto Block
Auto block will automatically block IP addresses that have failed a certain number of logins during a certain period of time.
- Open Control Panel and select Security
- Select Account. Ensure Enable auto block is selected. Set the Login Attempts and Within parameters to be what you’d like, then apply. This will ensure that IP addresses are automatically blocked after a certain number of failed login attempts
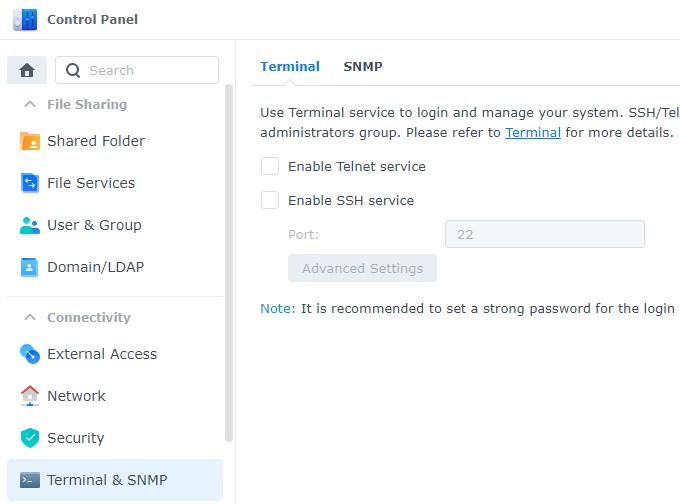
Disable SSH
There are multiple reasons why you might want to use SSH, but if you’re not actively using it, you should disable it. Even if you enable two-factor authentication above, SSH does not use it. For this reason, if your network is compromised, an attacker can try and brute force your password through SSH.
- Open Control Panel, then select Terminal & SNMP.
- Ensure that Enable SSH service is not checked off.