
Synology NAS Setup & Configuration: Initial Steps
These setup goes over a Synology NAS whether purchased new or factory reset. Ensure that your NAS is plugged in and has internet access before proceeding.
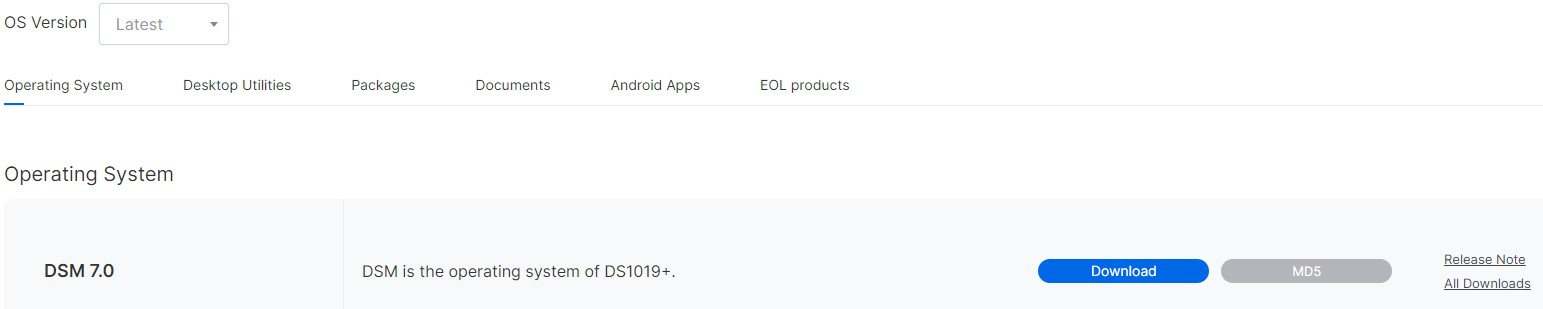
This Guide covers 7.0 Version install, and it assumes that NAS is plugged in, has drives and is truned on.
Find Synology NAS & Install DSM
- You will be informed that all data on your drives will be deleted. If you agree, select the checkbox next to I understand that all data on these drives will be deleted, then Continue
- DSM will install and reboot when finished. After a few minutes have passed, open a new tab and navigate to your synology IP address or http://find.synology.com
- Give your DiskStation
- Server Name (Device Name)
- Username and Password
-
The next step will ask you to create a Synology account. You can do this at a later time if you’d prefer
- The next step will ask you to enable Synology Active Insight and configuration backups. Select whichever you’d prefer, then proceed
Set up a Synology NAS Storage Pool/Volume
DSM 7 has made storage pool creation incredibly easy and straightforward. You will be prompted immediately to set up a Storage Pool and Volume, but if you’re not, open the Storage Manager and select Storage, then Create a Storage Pool.
- You will be brought to a wizard that will guide you through the setup process. Select Start
- Give your storage pool a description if you’d like, select the RAID type you will be using and select Next to proceed
- Select the Hard Drives (generally all of them) that you’d like in this Storage Pool and select Next. NOTE: You can always add drives later and expand your storage pool/volume
- You will be prompted that all data on the drives will be erased. Select Continue
- The next option will ask if you’d like to perform drive checks. If you’d like to test the drives, you can select Perform drive check. If you’d like to skip it, select Skip drive check
- This next section will determine how much of the volume you’d like to allocate. Generally, most people will use all of it, so you can select Max. If you’d like to use something smaller, you can enter the value
- Click Apply and your storage pool will be created
Setup Static IP
To setup Synology NAS with static IP address so that it’s always the same. It’s best to make a DHCP reservation in your router’s configuration.
- Go to Unifi > Client Devices
- Select Synology NAS and under setup select Static IP. This will automatically assign one, but you can change it if you want, just make sure you restart computer after
Its also a good idea to set a static IP address from DSM, although not needed if router DHCP is set correctly
- Go to the Control Panel and select Network Interface. Select Edit on the LAN device

- Select Use manual configuration and enter the IP Address you’d like to use
- The subnet mask, gateway, and DNS server can all stay as default (since they were pulled from DHCP). Select OK
- Your network settings will apply and your DSM session will refresh with your new IP address.