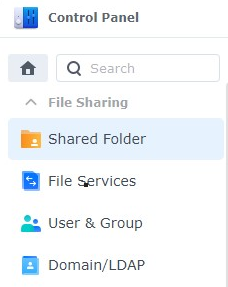
Shared Folder Setup
- Open Control Panel and select Shared Folder.
- Select Create. A new dialogue box will appear where you’ll need to change a few settings:
- Name: Name of the Shared Folder.
- Description: Description you’d like to use.
- Location: Volume you’d like to use.
- The next three options are personal preference based on if you’d like the folders visible to others and if you’d like a recycle bin enabled (so files aren’t deleted permanently).
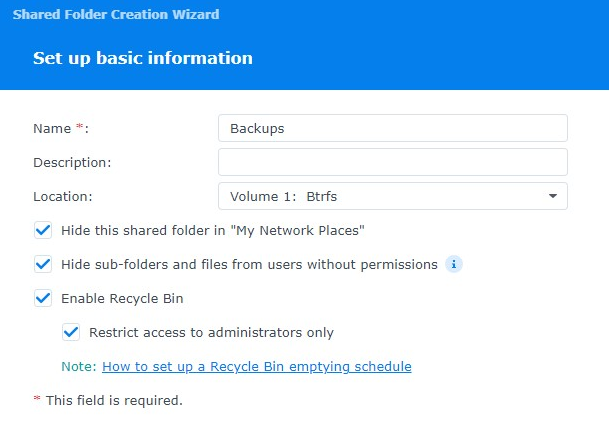
- Click Next
- The next screen will ask if you’d like to encrypt the shared folder. If you would, select the checkbox and enter an encryption key.
A few things to note with encrypted files: Encrypted files work by mounting/unmounting them with the encryption key (password) in DSM. When you mount the folder, it functions the same way as other shared folders do. It simply gives you the option to unmount the shared folder when you’re done adding files.
When the drive is unmounted, no one can access the files until you mount the folder again. If you lose the encryption key, your files will be lost forever. Keep it somewhere safe!
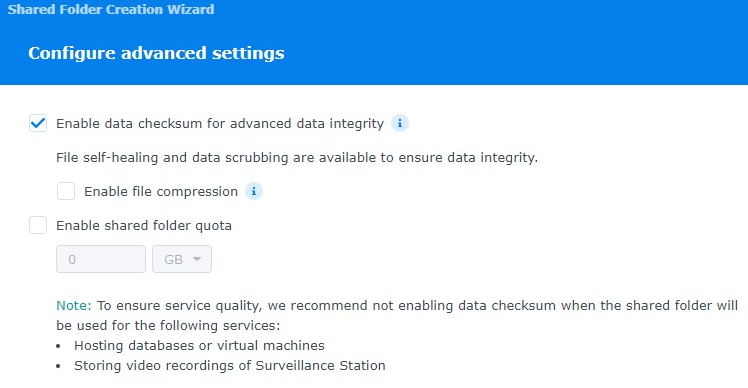
- Enable data checksum (if applicable) and file compression/folder quota if you’d like. Select Next.
- Select Next and Confirm Settings if everything looks as desired
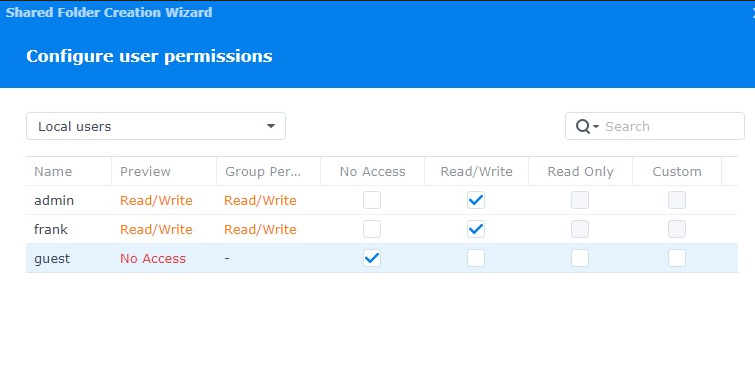
- After the folder is created, you will be brought to the folder’s permissions. Change the permissions to match what you’d like. Your folder is now created!
- Change local users to Groups to so it's group based rather then user based, for better control.