
Authentik OAuth/ OIDC Setup - Home Assistnat
Authentik uses many ways to connect to services, one being OAuth or Open ID Connect. This method is widely used on many services, such as Portainer.Home Assistant. Home Assistant doesn't have native Open ID Connection, so we will need to use HACS for setup
Please follow Authentik and Portainer documentation
PortainerHome Assistant OAuth Setup DocumentationAuthentikGitHubPortainerHass-openidIntegrationSetupDocumentationwith HACS
Authentik OAuth:
- Login to Authentik Admin Interface
- Go to Applications and select Create with Provider
- Choose a name and group
- Under URI in Launch URL enter https://portainer.cyberpaw.org
- Choose Oauth2 Provider
- Name the provider same as application
- For Authorization Flow choose Cyberpaw-authorization-flow (or default one)
- Make sure Confidential is selected for Client Type
- Copy Client ID and Client Key
- In Redirect URIs enter
https:http://portainer.overseer.cyberpaw.org(check portainer instructions for more detail)org:8123/auth/openid/callback - For Encryption key choose default-authentic-self-signed-certificate
- Under Advanced flow settings choose Welcome to Authentick (or default one)
- Under Configure Bindings click Bind existing policy/group/users
- Select Group and choose existing group that is authorized to use this service
- Review and Submit
- The provider is created and should say it's connected to application
PortainerHome Assistant Steps:
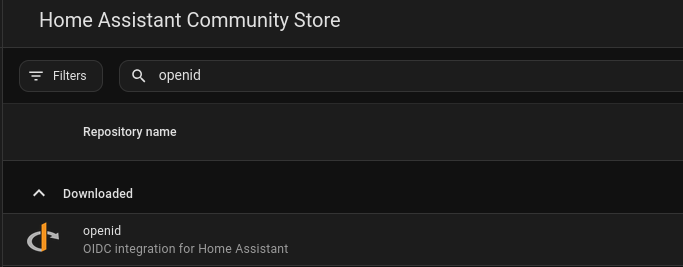
NavigateLogin toPortainerHomepageAssistantandwithloginAdminUnderOpenSettingsgo toAuthenticationand selectOAuthHACSEnableSearchuseforSSOhass-openid
ChooseGo toAutomaticTerminalUserappProvisioningonallowingHA
cd login/configIfCreatenotcustom_componentsselected you will need to create an account with same email as Authentik userDirectory
mkdir Scroll-p down to OAuth Configuration/config/custom_components/openidCopy and Paste allDownload thefield ID, secret and URLsFiles fromProviderGitHub
git Authentikclone https://github.com/cavefire/hass-openid.git
cp -r hass-openid/custom_components/openid /config/custom_components/ For#OAuth Userwith IdentificationAuthentik
typeopenid:
client_id: YOUR_CLIENT_ID
client_secret: YOUR_CLIENT_SECRET
configure_url: "email"https://auth.cyberpaw.org/application/o/home-assistant/.well-known/openid-configuration" For# ScopeReplace typewith your Identity Provider's URL
username_field: "emailemail" oauth# provider"Adjust -Portainerbased documentationon saysyour IdP's user info response
scope: "openid profile email"
block_login: false
openid_text: "Login with Authentik" # Text to usedisplay dasheson butthe uselogin spacepageSaveRestart Home Assistant
If
block_login true in your configuration