
Data Protection and Monitoring Setup
Now that a storage pool, volume, and shared folder are created, we need to change a few settings to protect and monitor our data.
Set up a Data Scrubbing Schedule on a Synology NAS
Data scrubbing inspects your volumes and modifies detected inconsistencies. In simple terms, this protects your NAS against bit-rot. There isn’t a specific schedule that’s mandatory, but it’s a good idea to run it at a minimum, bi-annually.
- Open Storage Manager, select Storage Pool, then Schedule Data Scrubbing. Then select Set Schedule

- Select Enable Data Scrubbing schedule, then select the Storage Pool, select a Frequency and Save

Set up Snapshots on a Synology
The easiest way to think of snapshots is that they “freeze” your files in time and allow you to recover those files later if necessary.
Every time a snapshot is created, a “restore” point is created, which allows you to recover files/folders from a point in time. The best part about this is that the snapshots themselves take up very little space and give you tons of flexibility!
- Open the Package Center, search for Snapshot and install the Snapshot Replication package.
- When the install finishes, launch the Snapshot Replication application. Select Snapshots and select settings on the folder you’d like to schedule protection for.
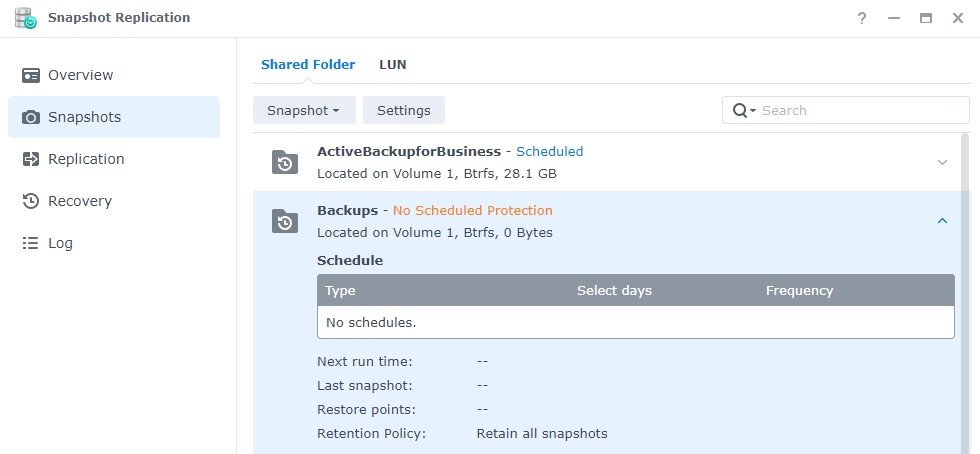
- Enable the snapshot schedule. At this point, there are two final settings you’ll need to check:
- Retention: Select how many snapshots you’d like to retain. Depending on the file type (and size), you’ll most likely have different retention policies for different folders.
- Snapshot Visibility: If you would like snapshots to be visible, select the checkbox under the Advanced section.

- After the snapshots have been configured, your system will start to create snapshots regularly. When the retention policy hits its maximum, old snapshots will be deleted.