
Backing up Proxmox Virtual Environment to Synology NAS
This article goes trough setting up NFS connection between Synology and PVE Database. Although using Proxmox Backup Server is better for keeping more backups using deduplication, verification and pruning options, having additional backup job directly from PVE instance can increase redundancy in case of PBS failure.
Having Proxmox Virtual Environment and Synology NAS up and running are pre requisite for this setup.
Setting up NFS connection on Synology
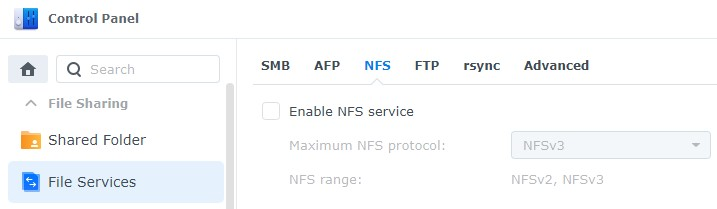
- Open the Control Panel on Synology DSM and select File Services then NFS
- Select Enable NFS service and then Apply. (NFSv3 is still a safe, but selecting latest protocol is always a good idea)
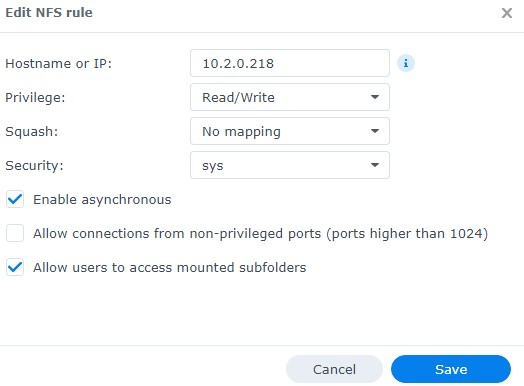
Make sure Synology Firewall is configured to allow Proxmox IP address to access Synology via NFS. Also, on Unifi router settings ensure that there is a rule set to allow access.
Proxmox Storage Configuration
- Login to Proxmox Virtual Environment
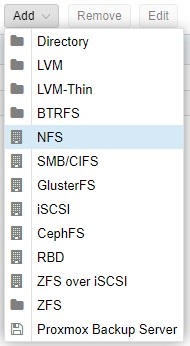
- Select Datacenter then Storage
- Select Add then NFS
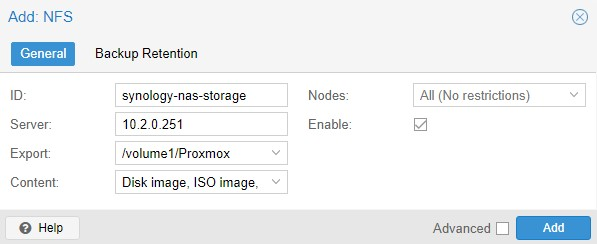
- At the NFS screen
- Create an ID
- IP Address of your Synology NAS server
- In the Export drop-down menu, the location of your Proxmox folder should automatically appear (If not, there is problem with Synology Firewall or Router Firewall)
- In the Content drop-down, select ALL entries. You can then select Add
Proxmox should now show the Synology NAS Storage that we created above

Setting up Backup Job
We can now backup individual machines or create a backup job