# Data Protection and Monitoring Setup
Now that a storage pool, volume, and shared folder are created, we need to change a few settings to protect and monitor our data.
#### Set up a Data Scrubbing Schedule on a Synology NAS
Data scrubbing inspects your volumes and modifies detected inconsistencies. In simple terms, this protects your NAS against bit-rot. There isn’t a specific schedule that’s mandatory, but it’s a good idea to run it at a minimum, bi-annually.
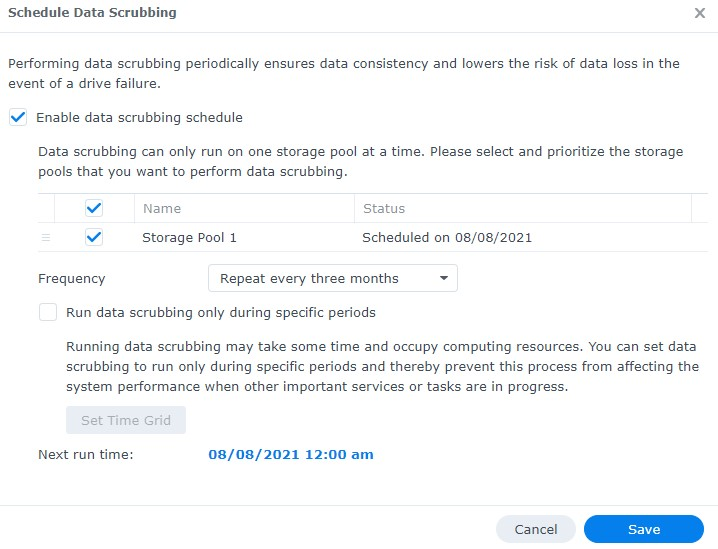
1. Open **Storage Manager,** select **Storage Pool,** then **Schedule Data Scrubbing.** Then select **Set Schedule**
1. Select **Enable Data Scrubbing schedule,** then select the **Storage Pool,** select a **Frequency** and **Save**
#### Set up Snapshots on a Synology
The easiest way to think of snapshots is that they “freeze” your files in time and allow you to recover those files later if necessary.
Every time a snapshot is created, a “restore” point is created, which allows you to recover files/folders from a point in time. The best part about this is that the snapshots themselves take up very little space and give you tons of flexibility!
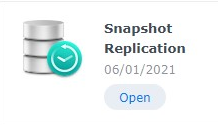
1. Open the **Package** **Center**, search for **Snapshot** and install the **Snapshot** **Replication** package.
2. When the install finishes, launch the **Snapshot** **Replication** application. Select **Snapshots** and select **settings** on the folder you’d like to schedule protection for.
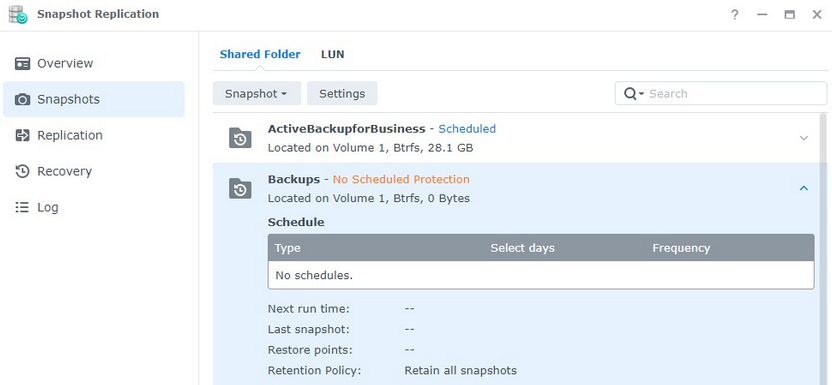
3. **Enable** the **snapshot** **schedule**. At this point, there are two final settings you’ll need to check:
- **Retention**: Select how many snapshots you’d like to retain. Depending on the file type (and size), you’ll most likely have different retention policies for different folders.
- **Snapshot** **Visibility**: If you would like snapshots to be visible, select the checkbox under the **Advanced** section.
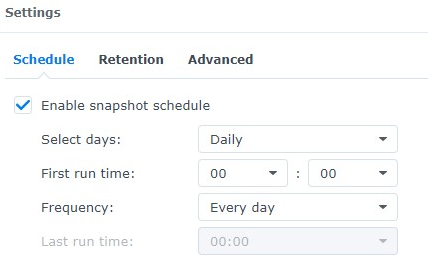
4. After the snapshots have been configured, your system will start to create snapshots regularly. When the retention policy hits its maximum, old snapshots will be deleted.
#### Set up a Recycle Bin Task on a Synology NAS
By default, the recycle bin will retain files until you empty it. However, there’s an easy way to set up a schedule so that your NAS automatically deletes these old files after a certain period of time.
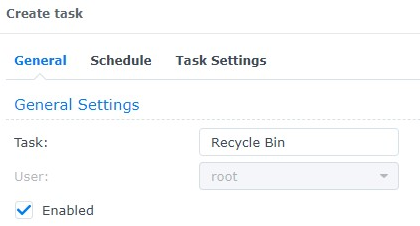
1. Open the **Control** **Panel** and select **Task** **Scheduler**
2. Select **Create,** then **Scheduled Task,** then **Recycle Bin**

- General: Enter a Task Name.
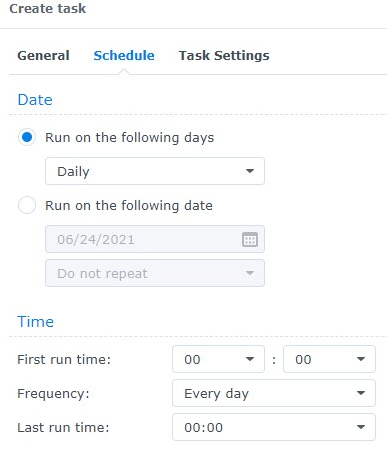
- **Schedule**: Specify when you’d like the task to run.
- **TaskSettings**: Specify if you’d like all recycle bins to empty or only specific ones.
- **Retention** **Policy**: This is an important step! I retain all deleted files for 14 days, but this is completely personal preference. This setting specifies when files are deleted. There are also advanced settings you can check.

This is very important because when you’re using a NAS, you generally have data rotating like snapshots and backup files.
#### Set up the Storage Analyzer on a Synology NAS
The storage analyzer allows you to see what files/folders are taking up space on your NAS and if any duplicates exist. It’s a powerful tool that periodically comes in handy.
1. Open the **Package** **Center**, search for Analyzer, and install the **Storage** **Analyzer** package.

2. When it’s done installing, open the package. You will be asked to specify a location to save your reports. Select **Yes**. Specify a location to save your reports and the frequency you’d like reports generated.
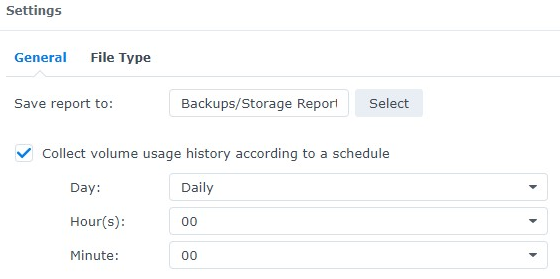
3. A wizard will then start to assist you in the creation of the scheduled task. Give your report a name, set a schedule, and then specify the total number of reports you’d like to keep.
4. Keep all Report Types selected (unless you don’t want specific ones generated) and click
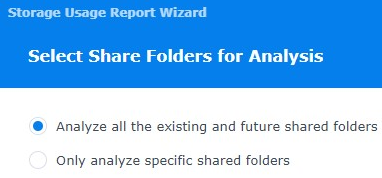
5. Determine if you’d like to analyze all current and future shared folders, then select
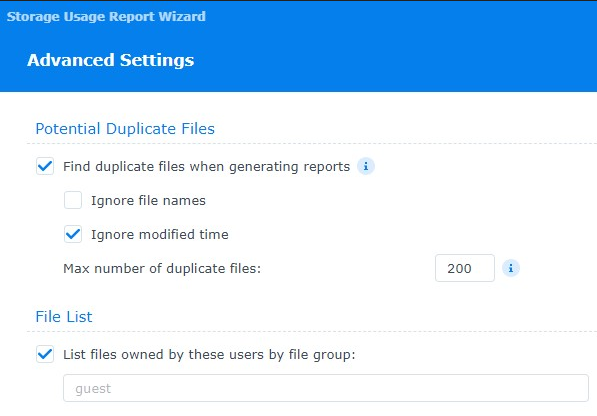
6. Select the settings you’d like to use to find duplicate files.
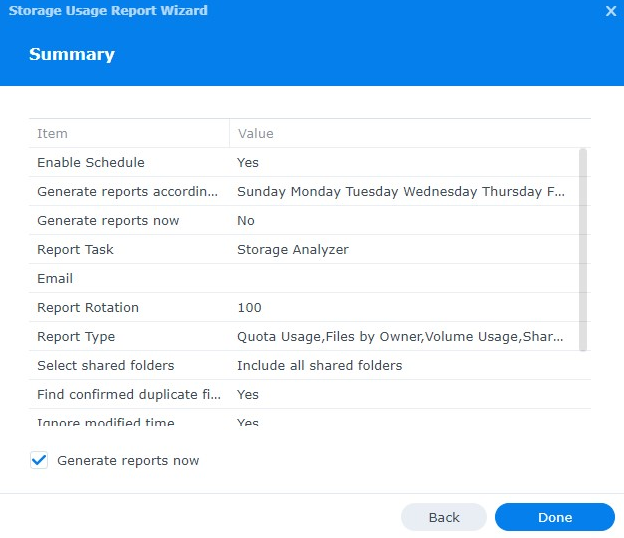
7. Select **Generate** **reports** **now**, then **Done,** and the process is officially set up!
This might not seem important on the surface, but understanding how your storage is being used is integral!